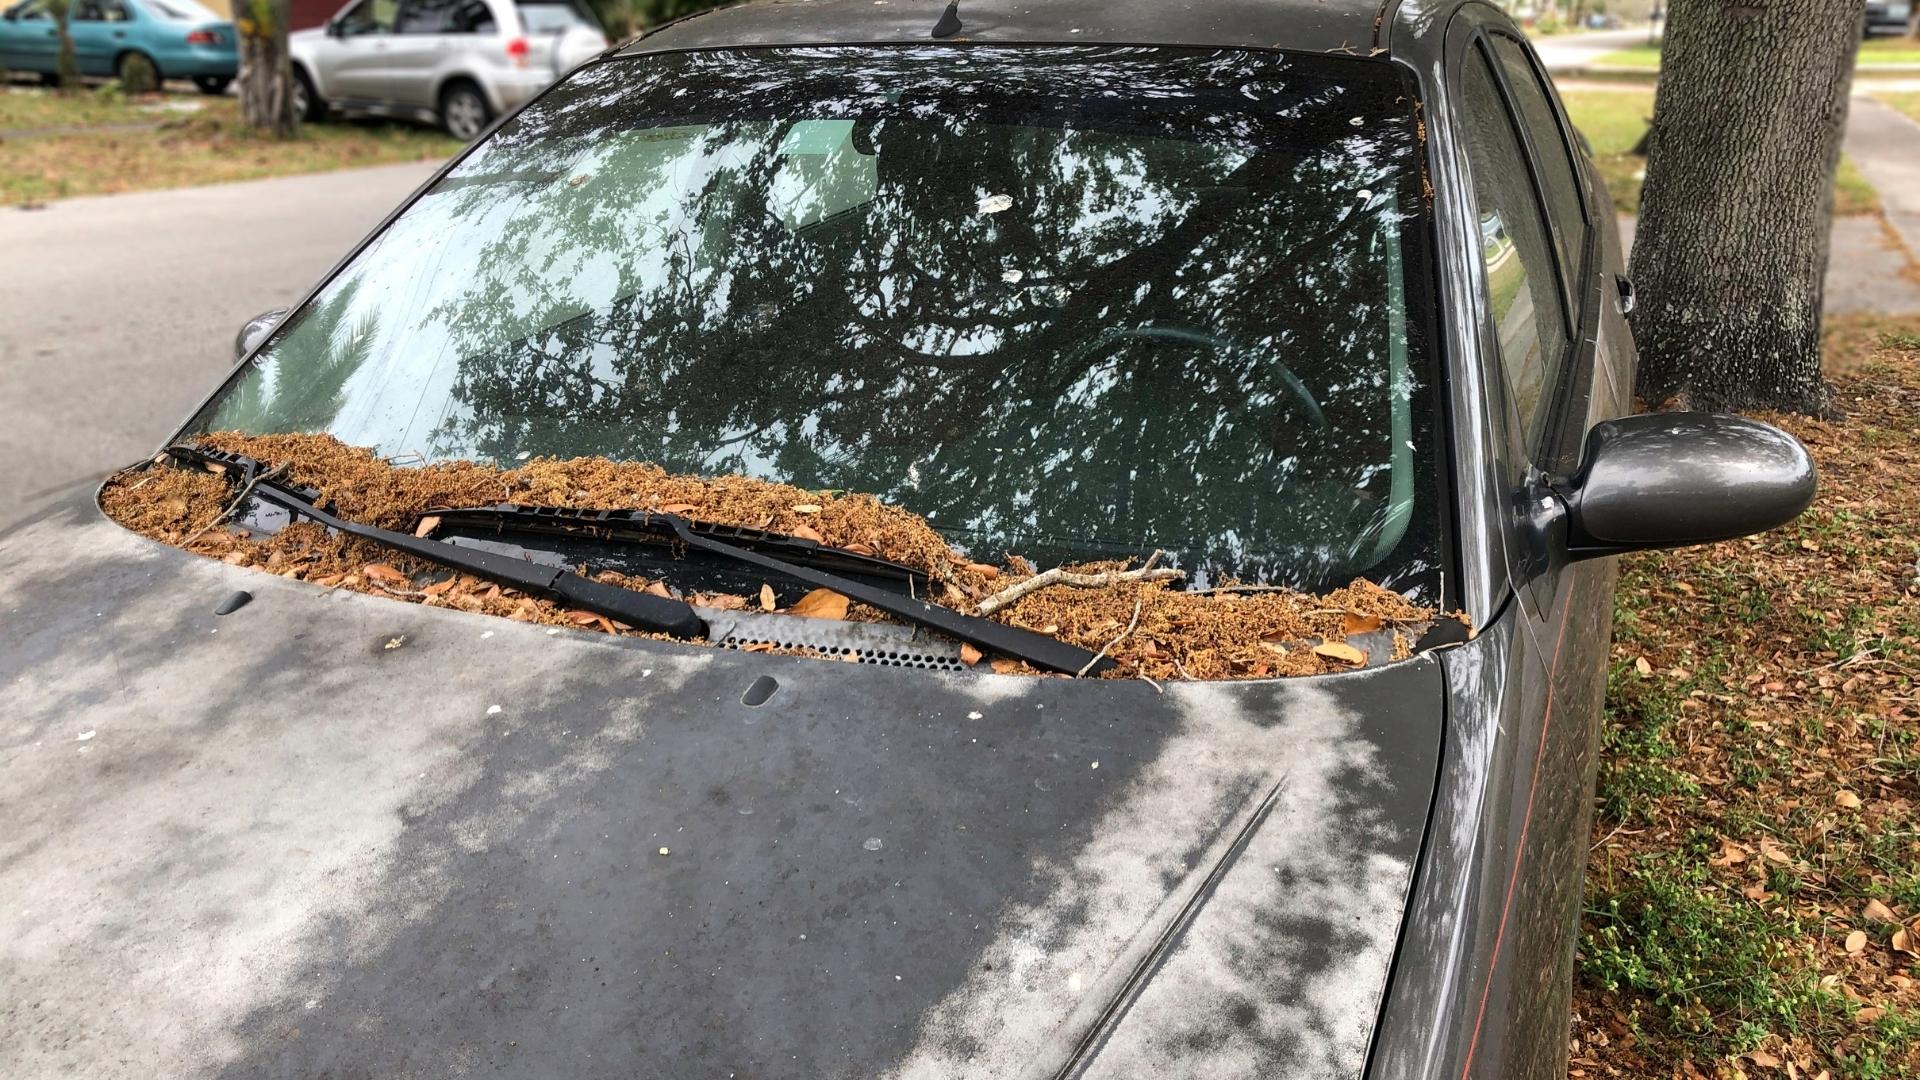
Dealing with sap on your car can be frustrating. It’s sticky and hard to remove, and if not dealt with properly, it can damage your car’s paint. However, with the right approach, you can learn how to remove sap from your car without damaging the paint. In this blog, we’ll guide you through the steps to safely and effectively remove sap, ensuring your car remains in pristine condition.
Understanding Sap and Its Effects
Tree sap is a sticky substance that can be quite tenacious. If left on your car’s surface, it can harden and become more difficult to remove over time. Additionally, sap contains natural chemicals that can damage your car’s clear coat, potentially leading to permanent marks or dull spots. Therefore, it’s essential to address sap spots as soon as you notice them.
Step-by-Step Guide on How to Remove Sap from Your Car
Step 1: Gather Your Supplies
Before starting the removal process, gather the necessary supplies. You will need:
- A microfiber cloth or sponge
- Isopropyl alcohol (rubbing alcohol)
- Car wash soap
- A bucket of warm water
- A soft-bristled brush
- Clay bar kit (optional)
- Car wax or polish
Step 2: Clean the Area
Begin by cleaning the area around the sap spot with car wash soap and warm water. This will remove any loose dirt and debris, preventing scratches during the sap removal process. Dry the area thoroughly with a clean microfiber cloth.
Step 3: Apply Isopropyl Alcohol
Isopropyl alcohol is effective for breaking down sap without harming your car’s paint. Pour a small amount of isopropyl alcohol onto a microfiber cloth. Gently rub the sap spot in a circular motion. The alcohol will dissolve the sap, making it easier to wipe away. Be patient and avoid applying too much pressure, as this could damage the paint.
Step 4: Use a Soft-Bristled Brush
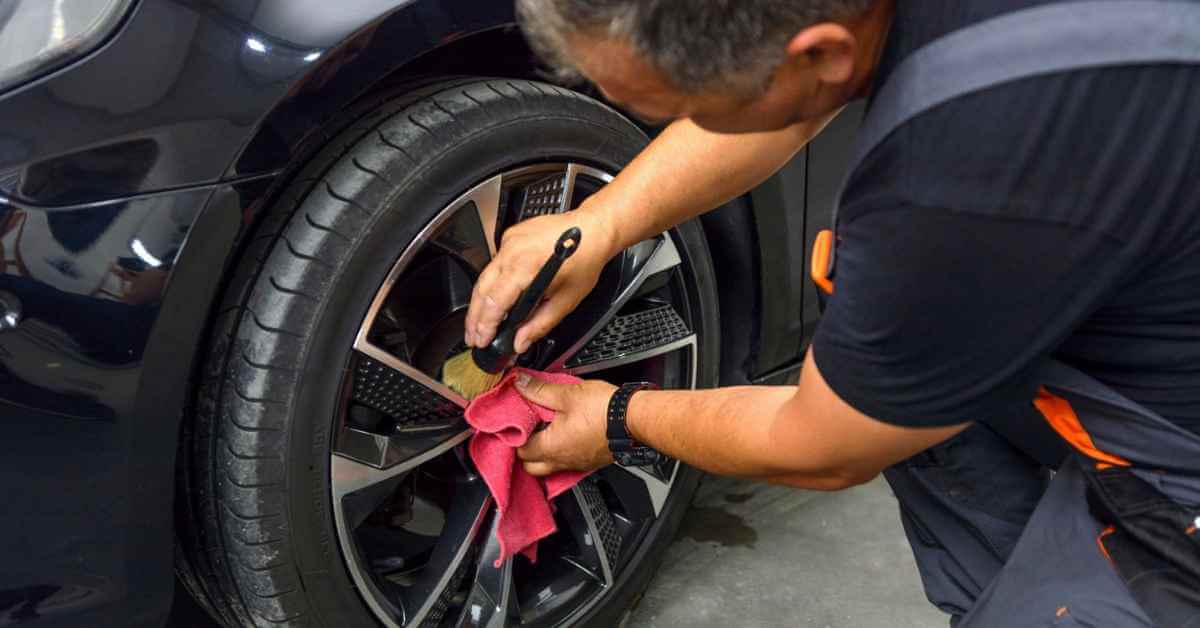
For stubborn sap spots, a soft-bristled brush can help. Dip the brush in warm, soapy water and gently scrub the sap area. The brush’s bristles will help lift the sap without scratching the paint. Rinse the area with clean water and dry it with a microfiber cloth.
Step 5: Consider a Clay Bar Kit
If the sap is still not coming off, a clay bar kit might be necessary. A clay bar can remove contaminants from your car’s surface, including stubborn sap. Follow the instructions on the clay bar kit carefully. Typically, you’ll lubricate the area with a special spray and then gently rub the clay bar over the sap spots. This method is highly effective and safe for your car’s paint.
Step 6: Rinse and Dry
After removing the sap, rinse the area with clean water to remove any residue. Dry the area thoroughly with a microfiber cloth. Inspect the area to ensure all sap has been removed.
Step 7: Apply Car Wax or Polish
Once the sap is removed, it’s a good idea to protect the area by applying car wax or polish. This will restore the shine and provide a protective layer against future sap and other contaminants. Apply the wax or polish according to the product instructions, and buff it with a clean microfiber cloth.
Preventing Future Sap Issues
While learning how to remove sap from your car is essential, it’s equally important to take steps to prevent sap from landing on your car in the first place. Here are some tips:
- Park Smart: Whenever possible, avoid parking under trees, especially during the sap-producing season. Look for covered or indoor parking options.
- Use a Car Cover: If you have to park under trees, consider using a car cover to protect your vehicle from sap, bird droppings, and other debris.
- Regular Cleaning: Wash your car regularly to remove any sap that might have landed on it. Regular maintenance will prevent sap from hardening and becoming more difficult how to remove sap from your car.
- Wax Your Car: Applying good quality car wax creates a protective barrier on your car’s paint, making it easier to remove sap and other contaminants.
Common Mistakes to Avoid
When learning how to remove sap from your car, it’s important to avoid common mistakes that could damage your paint:
- Using Abrasive Tools: Avoid using abrasive tools or scrubbers, as they can scratch your car’s paint.
- Ignoring Sap: Don’t ignore sap spots. The longer sap sits on your car, the harder it becomes to remove and the more damage it can cause.
- Using Harsh Chemicals: Be cautious with harsh chemicals, as they can damage your car’s paint. Stick to isopropyl alcohol or products specifically designed for sap removal.
Conclusion
Knowing how to remove sap from your car is an essential skill for any car owner. By following the steps outlined above, you can safely and effectively remove sap without damaging your car’s paint. Remember to act quickly, use the right tools and products, and take preventive measures to keep your car looking its best. With a little care and attention, your car will remain sap-free and in top condition.
More Blog Here – basicinfohub


